
The work on the front bash plate.
Bash plate bolted in its original position on the sub-frame, and hinges tacked-welded in position, rod put through all 3 hinges to ensure they align.

Hole drilled in the centre hinge plate to align with the drain hole in the sub-frame.

Bolts removed and hinge articulation checked

Hinges are all fully welded in place, and a coat of red oxide was applied.
Sub-frame sent off to be galvanised.

Modification to allow for the upgraded winching points marked and cut.

New winch points fitted, plus sub-frame and other galvanised and painted parts back on the van; the bushes were also replaced with poly bushes at this point.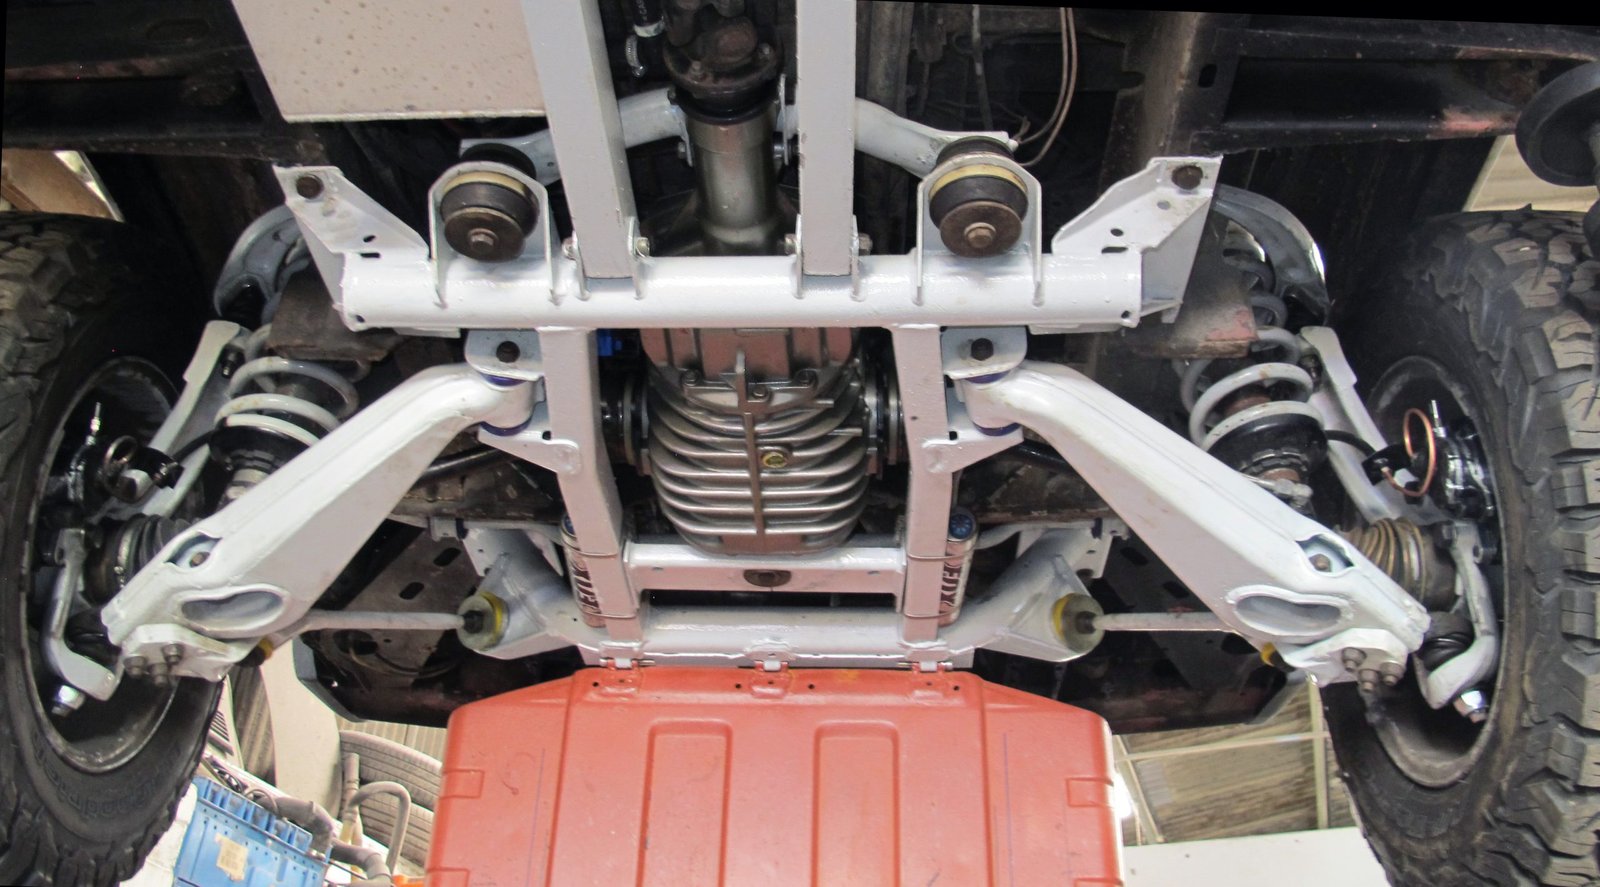
Cut parts on the bash plate, tack-welded in position, and a test fit on the van to check the clearance.
The Hinges work well, but we need to make sure this doesn’t (can’t) happen while driving.
(We will probably fit chains at the front).

Infill plate’s tack-welded in the gaps, then, along with the other parts, all welded in place.
All sharp edges, rounded as much as possible and cleaned up.

Welded from both sides, as access was available.

The old hole for the original tow loop has now been filled, plus work continues on the quick-release front securing points and the fabrication of an internal load restraints system (Photos soon).
Original weight = ?
Finished weight = ?
More info and photos, and a full write-up to follow soon.
Home build – Pros.
You get what you want (or close to it).
Home build – Cons.
Only myself to blame if it all goes wrong.
Takes longer than expected, (always).
Front bash plate, review.
Categorie link pages:-
Reviews.
Permanently fitted or available
External.
Of road additions.
Modified front bash plate.
Fabricating work on the front bash plate.
 .
.